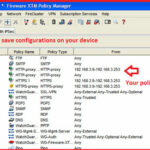
 How to create a HTTP policy in WatchGuard Fireware XTM :-
The WatchGuard XTM security Suite lets you customize the who, what , why and when of how you defend your network. Like any other network device, you have to configure your policy as per your need. With Fireware XTM, you also need to be configure policy and implement on the network.
In this article,i am going to show you How to create a HTTP policy in WatchGuard Fireware XTM ?
Lab Requirement :-
- Management PC with WSM ( WatchGuard System Manager) installed.
- WatchGuard XTM device
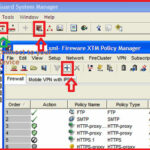
Open WatchGuard System manager on your management PC. Click on the connect icon to connect to WatchGuard device and click on the Policy manager icon to open Fireware XTM Policy manager.
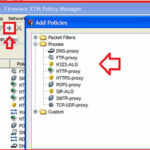
Now click on the Plus icon to create New Polices, here you have three option ” packet filters , ” proxies ” and ” Custom “. For HTTP, we have to select HTTP-proxy option and click on the New.
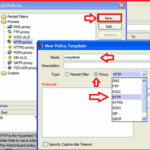
In the Name field, put the name of your Policy and select the proxy tab and select the HTTP proxy option.
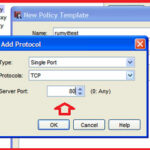
Now click on the Add and in the Add protocol option, Select the Type “Single Port ” , protocol “TCP” and Server Port “80” and click on the OK.
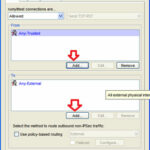
Now select your Policy and Click on the Add button in the down.
Now here you have to define to who this policy will applied. Like in my case i want to applied on 192.168.3.9 – 3.254 range and i want to leave some 192.168.3.1 to 192.168.3.8 IP-address range for full access.
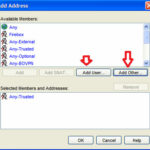
Click on the Add in the From section and choose your option. here you have two options ” Add user ” and ” Add other “. If you want to implement policies on Firebox users , VPN users then select from the Add user options.
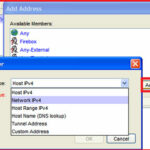
or to define range of IP-address , click on the Add other option. here you have option to define Host IPv4 , network IPv4 , Host range IPv4, Hostname , Tunnel address and custom adddress.
In my case i want to allow 192.168.3.9 – 192.168.3.255 range then my option will be Host Range Ipv4.
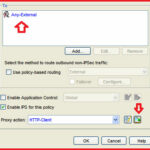
here i have to enter 192.168.3.9 – 192.168.3.254 range in From option and select the Any-External in To field. Now click on the +policy icon in proxy action field.
Now you have the HTTP proxy Action configuration window to define your proxy Policies. I recommend to use Enable Safe Search in the General categories.
it’s recommended to Select Allow or Select AV scan option in each categories action to take , if you have Antivirus subscription service enabled.
If you have any Web Cache server, then select the Use Web cache server tab and specify the cache server address.
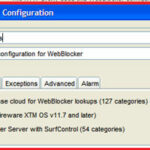
here you main configuration part is WebBlocker configuration, Click on the WebBlocker tab and click on the Plus icon.
here You have two server option. i recommend to use cloud option, because it’s providing more categories then local web-blocker server.
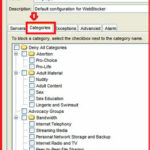
Click on the Categories tab to define your categories that you want to block in your network.
Click on the OK.
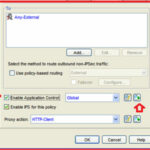
Now if you want to implement application control policy ( With Application control , you are able to block applications like Skype, Torrent , proxy etc. ) on the this policy then you have to enable Application control policy on this policy with Enable Application control window in your policy properties.
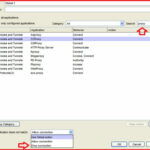
Search for application that you want to block and select the Drop Connection here.
Now your configuration is done. 🙂
WatchGuard is applying the policy from the top order. Be remember, you only create the policy, you have to apply over the device. it’s always recommended to take the configuration backup before new policy implementation.
Thanks to Syed Ali from Sahara net who helped me in WatchGuard configuration. 🙂
Hope you like my post.How to create a HTTP policy in WatchGuard Fireware XTM. Please Share with others.
Related post :-
What is WatchGuard System Manager(WSM)
Stop Unwanted Email with SpamBlocker in WatchGuard
How to Prevent Dos attacks with WatchGuard XTM Firewall
Allow internet access in WatchGuard XTM when webblocker server
How to Setup WatchGuard IPSec VPN connectivity from an Android

