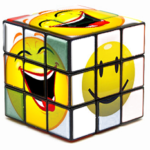
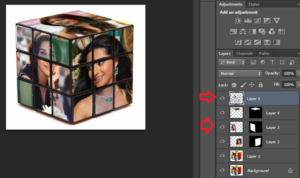
How to create a Photo-cube in Photoshop ?
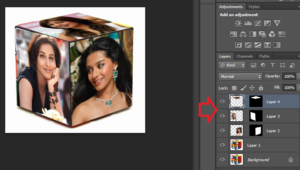
On the Advertisement and other places we always find the Photo-cube. it,s really looking interesting. Today i am going to show How to create a Photo-cube in Photoshop.
For this demonstration i am using Photoshop CS6, However you can use any CS versions.
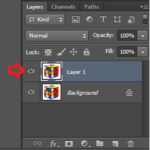
Step 1 :- Download any 3D cube from Google and open it in Photoshop and make one duplicate layer with Ctrl + J.
Step 2 :- Now open your all three pictures that you want to put in the Photo-cube. Unlock each layer and copy image with Ctrl + C command.Go to the Cube layer and Select the area with Polygon Lasso tool.
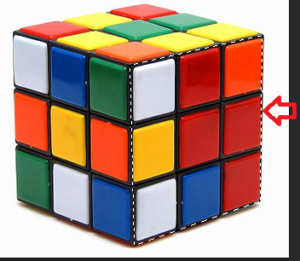
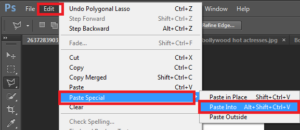
Step 3 :- Now you need to be paste the image that you copied from the other layer. Go to Edit Menu > Paste Special > and select Paste Into Option or use the Alt + Shift + Ctrl + V command.
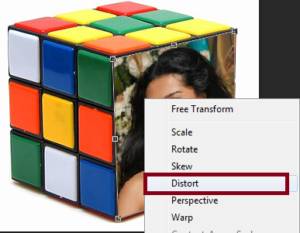
Step 4 :- Now Press Ctrl + T to transform your picture and select the Distort option and adjust each corner then press the Ctrl + D.
Step 5 :- Now you need to do the same thing for other two pictures that you want to add in Photo-cube. Now you have one layer for each three images.
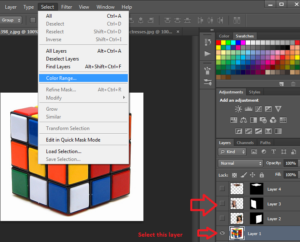
Step 6 :- Your cube is ready, but i will give some more touch in this cube. Turn off this three new layers.Select the Background copy layer and Go to Select Menu > Select the Color Range option.
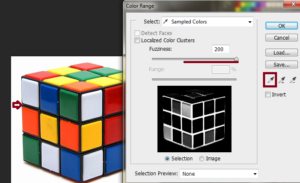
Step 6 :- then select the cube partition area and increase the Fuzziness.
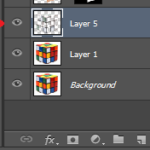
Step 7 :- Make one duplicate layer of this selection with Ctrl + J command.
Step 8 :- Now Move this layer to UP and turn on the off layers.
Now your Photo-Cube is ready. If you want to do more with this pictures, Select each picture and open the Blending options as adjust as per your need.
Also Check :-
Place An Image In Text With Photoshop
Best Way to Change Color in Photoshop
Hope you like my post.How to create a Photo-cube in Photoshop. Please share with others.

